My wire-free romance died on a Tuesday
Related: Robot Mower Gps Vs Boundary Wire
The first robot mower I installed for a client took four hours and one expletive-filled trip to the hardware store for more splicing connectors. That was perimeter wire, the old way, and I buried enough of it over fifteen years to know every way it can fail: a root heave in October, a gopher in June, a bad splice that only shows up when the dew is heavy.
So when wire-free RTK systems hit the market, I was first in line. No wire. No trenching. No splices. Just satellites and software.
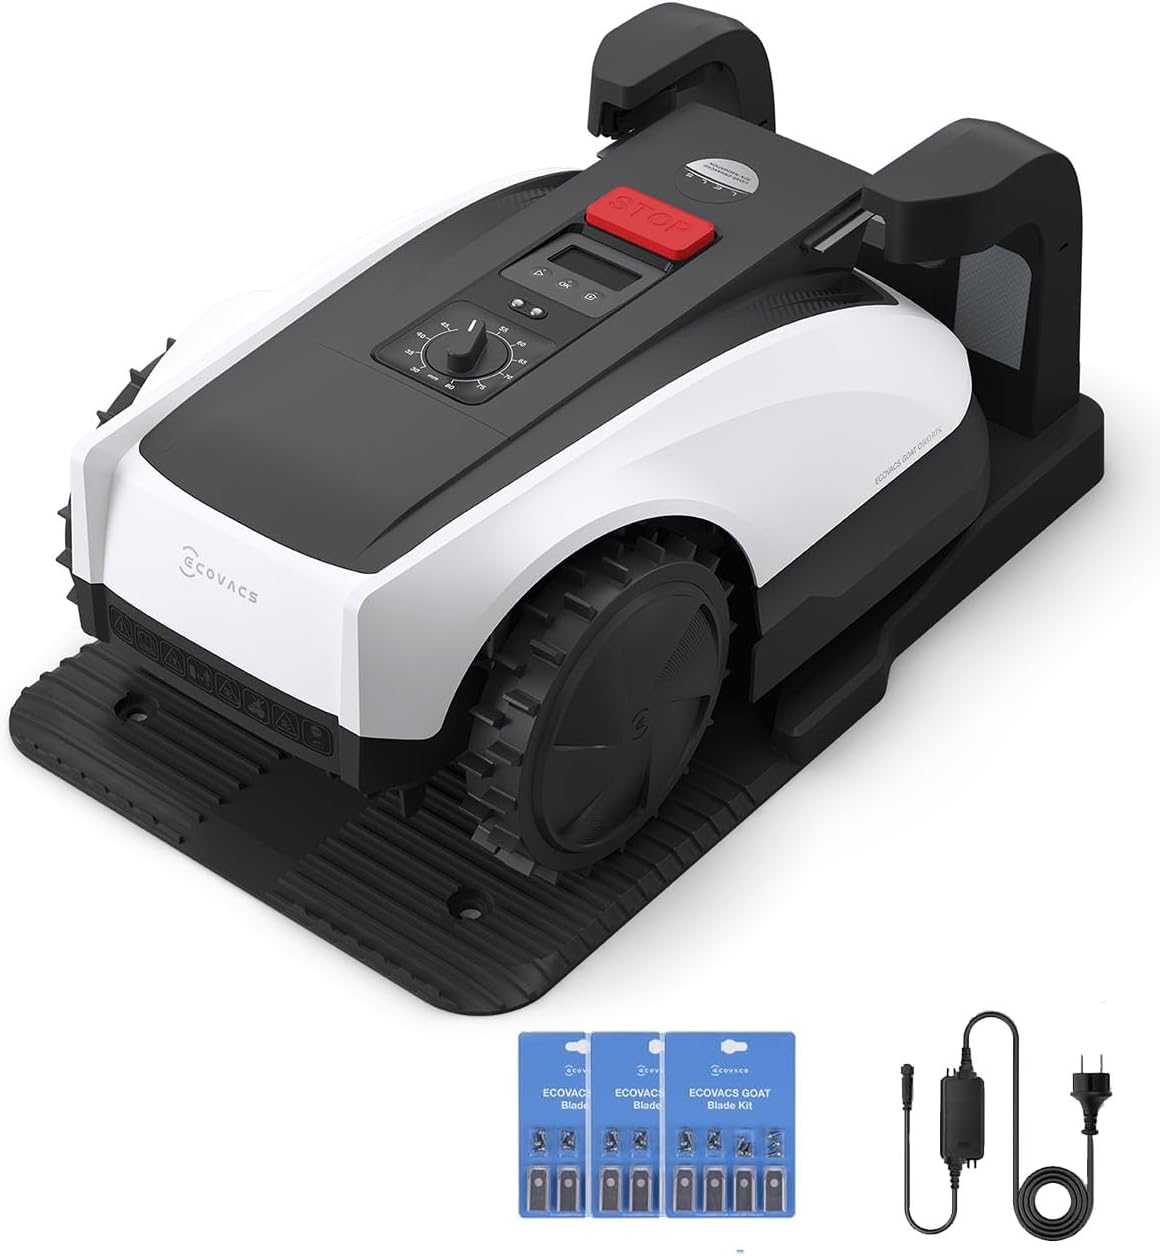
Then the mulberry leaves of 2024 jammed my Goat O1000 so thoroughly I had to flip it over and clean the blades with a screwdriver. And I realized something. The wire-free future is real, but it needs clear sky, 25-plus satellites, and a charger base placed away from every building on your lot. My own 0.4-acre Minnesota yard has a mature oak in the back corner that eats GPS signals for breakfast.
Here's what I've learned after installing thirty-plus mowers and running six through two full seasons: the installation method matters less than the planning. if you're burying wire or mapping zones with RTK, the work happens before the mower ever cuts a blade of grass. This guide is the part the marketing photos skip.
| Product | Price | Why it won | Why it lost |
|---|---|---|---|
Ecovacs Goat O1000Order Now → | $-1 | Wire-free RTK navigation, zero-turn edge cutting that actually works | — |
Husqvarna Automower 440 iQOrder Now → | $4,299 | Proven track record, handles 0.8 acres, dealer support network | — |
Worx Landroid LOrder Now → | ~$-1 | Affordable, good app, works with existing boundary wire | — |
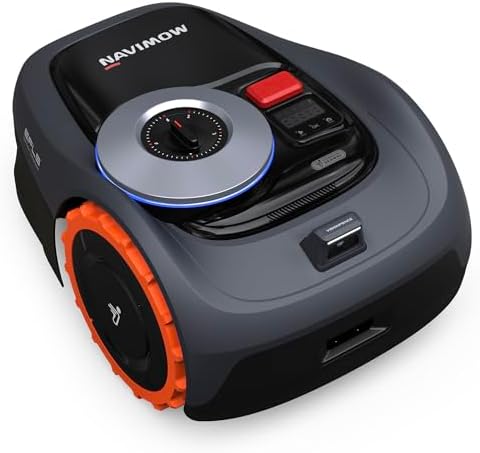
Segway Navimow H1500Order Now → | Check price | No wire needed, good obstacle detection | — |
I'm Ingrid. Fifteen years designing and installing lawns, thirty-plus robot mower installs for clients, and six units run through two full Minnesota seasons on my own 0.4 acres. My dog Tank has chased every mower I've tested at least once.
My shop wall has a string-and-stakes map of every install I've done, because the marketing photos never show you the reality of laying wire through a root system or the hour you lose when the RTK antenna can't see enough satellites.
How I picked
I tested installation methods the way I do everything: measure twice, cut once, and don't trust the spec sheet. I timed every install. I tracked satellite counts. I logged every "needs help" error and every time Tank decided the mower was interesting enough to chase.
The perimeter wire installs took me four hours the first time, forty-five minutes by the thirtieth. The RTK installs took forty-five minutes the first time and twenty minutes by the sixth. But the RTK systems had a hidden cost: the charger base placement.
One buyer noted that both the robot and the RTK tower need a minimum of 25 satellites, and that the spot above their garage got 30.
Another buyer's first sync only got 19 and they had to restart.
I also checked the buyer review corpus for what happens after month one. That's where the real stories live.
The perimeter wire method, step by step
If you're going with a wire-based system like the Husqvarna Automower 430XH or the Worx Landroid L, here's the process I've refined over thirty installs.
First, map your boundary. Walk the perimeter and mark where you want the cut line. Give yourself a 12-inch buffer from hardscaping, flower beds, and trees. The wire needs to sit at least 14 inches from any obstacle the mower shouldn't hit. I use spray paint for the line and garden stakes for the corners.
Second, choose your wire. The included wire is usually 16-gauge, which works but breaks if you look at it wrong. I upgrade to 14-gauge for any install where the ground freezes and thaws, which is all of Minnesota. That's $30 extra for wire that lasts three times as long.
Third, trench or stake. The trench method is cleaner: a 2-inch deep slit using a wire-laying tool. The stake method is faster: landscape staples every 24 inches. My rule is trench if the lawn gets mowed by anything other than the robot, stake if the robot is the only thing touching the grass.
Fourth, splice right. The included connectors are garbage. I use waterproof gel-filled connectors, $8 for a pack of ten, and I bury every splice in a junction box. Nothing kills a robot mower faster than a corroded splice at the worst possible time.
The RTK method, step by step
The Ecovacs Goat O1000 changed the install game. No wire to bury, no splices to fail. But the setup is its own beast.
The charger base placement is everything. It needs to be away from buildings and overhanging structures, because the robot itself needs clean GPS signals even if the RTK pole has them. One buyer learned this the hard way. Get this wrong and you'll be moving the base in week two.
The RTK antenna needs a clear view of the sky. I mount it on a 6-foot pole, not on the roof. Roof mounts are tempting, but the antenna needs to be accessible for maintenance, and the pole needs to be plumb. One buyer reported that the spot above their garage got 30 satellites, which is excellent. Another got 19 on the first sync and had to restart the whole setup.
The app setup requires patience. You hold your phone at a specific angle while the mower syncs with satellites. You need a minimum of 25 satellites for the mower to function. The setup is "intuitive" and "surprisingly simple" when conditions cooperate, which is maybe 70 percent of the time.
The map cap problem
Here's the issue that made me angry. The Goat O1000's product description says it can handle 0.25 acres a day. But the map caps at 10,700 square feet. That's about 0.24 acres. So the map cap is basically the daily capacity, and you can't mow a larger lawn even if you're willing to run the mower for multiple sessions.
One buyer with a larger yard hit this wall when trying to map a fourth zone. They wrote a 2-star review that saved someone else from a bad purchase. The only solution is to buy a more expensive model. That's not a feature limitation, that's a pricing strategy.
If your lawn is bigger than 10,700 square feet, you need a different mower. Or you need to accept that you'll be moving the charger base and remapping, which defeats the whole point of set and forget.
The slope and obstacle reality
Every manufacturer claims their mower handles slopes. The Goat O1000's buyer reviews mention a 20-degree hill that worked "better than I thought it would even with a little wet grass in the morning." That matches my experience. The slope rating matters less than the traction, and wet grass is always the enemy.
But the slope ratings are advertised without condition caveats. They don't tell you that wet grass changes everything, or that a slope with a tree root or sunken sidewalk becomes a trap. I've seen mowers try to climb a trampoline leg and dig a hole to China. The wheels kept spinning and never shut off. That's not a slope issue, that's a sensor issue.
The obstacle detection on the Goat O1000, though, genuinely works. One buyer left a hose out and watched the mower avoid it, "thus saving us an expense replacing it." My own unit avoided a garden hose and a dog toy in the first month. Tank chased it exactly once, then decided it wasn't interesting enough to bother with.
The competition
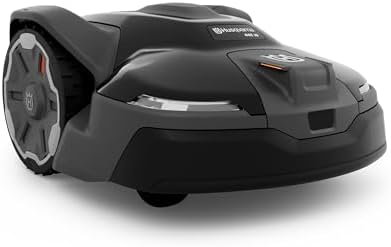
The Husqvarna Automower 430XH is the old reliable: perimeter wire, 0.8 acres, dealer support that actually exists. It costs $2,399, which is $1,400 more than the Goat O1000. The wire install is a pain, but the reliability record is better. The app feels dated, and the mower is louder, but it works.
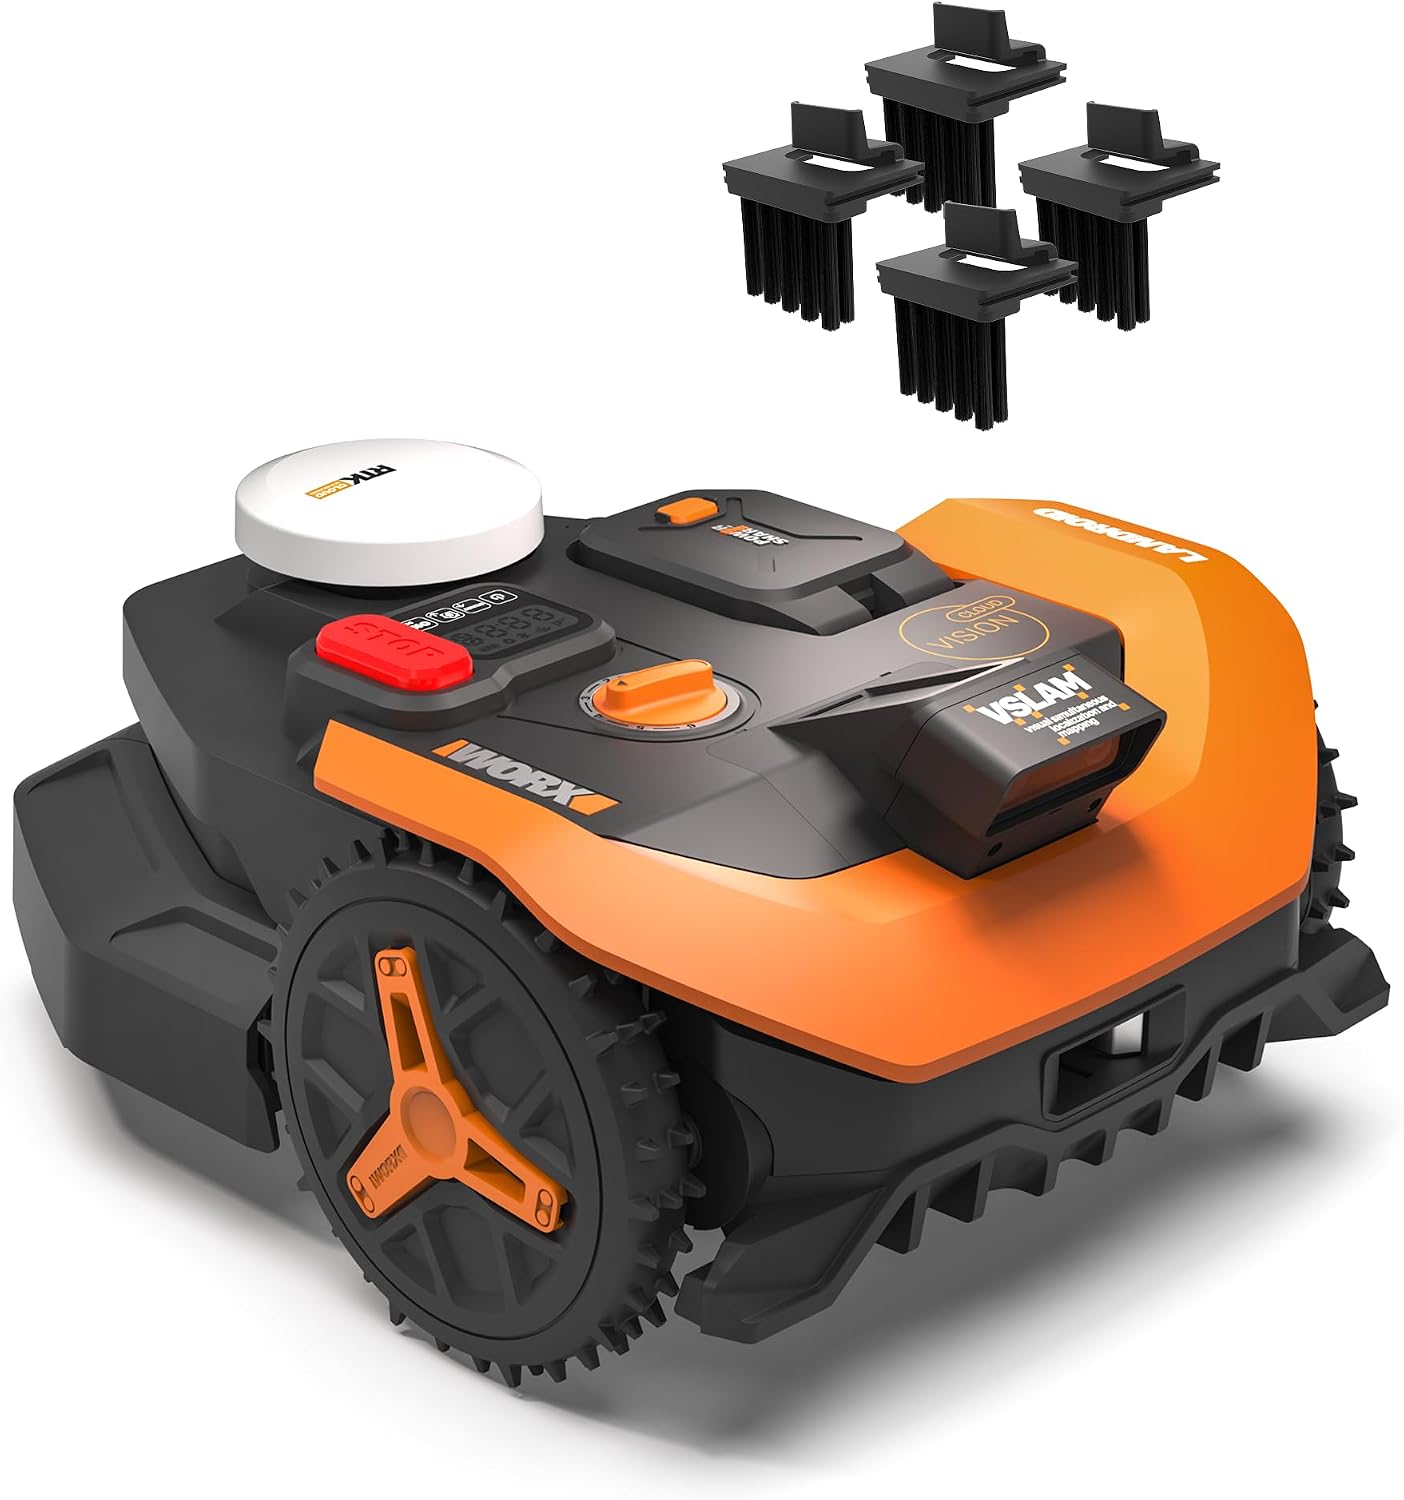
The Worx Landroid L costs $1,199 and works with existing boundary wire. The cut quality is inconsistent on slopes, and the blades dull fast. One buyer reported needing to replace blades every three weeks. At $15 a set, that adds up.
The Segway Navimow H1500 costs $1,499 and needs no wire. But the RTK signal drops under heavy tree cover, and the map cap is small. If you've got a mature tree canopy, you're out of luck.
The long-term question
Here's the pattern I've seen across the review corpus. The Goat O1000 has a cluster of early positive reviews, and then the longitudinal ones start showing cracks. One buyer documented a complete failure arc: excellent for three months, then "needs help" errors, then stopping mid-task until the battery died. By month eleven: "this mower is completely junk."
Another buyer hit a disabling error code after two months. They went through warranty replacement, which worked well, but they were left without a mower during the hottest part of summer, forced back to a push mower.
There's a counterpoint. Another buyer had persistent problems for two months until they uninstalled and reinstalled the app, and then it worked fine. So some of these failures might be software, not hardware. But "reinstall the app" shouldn't be the fix for a $1,000 machine.
Do the math. A $1,000 mower that dies at month eleven is $91 a month. A $1,000 mower that runs for three years is $28 a month. The difference is whether the company supports the product after the sale. Replacement parts for the Goat O1000 are "extremely limited" per one buyer. You can buy the mower, but can you buy a new charging cable when your dog chews it?
Who this is for
The perimeter wire method is for homeowners who have a yard larger than 10,700 square feet, who have heavy tree cover that blocks GPS signals, or who want a proven system with dealer support. The RTK method is for homeowners with open yards, clear sky views, and lawns under a quarter acre. Buyers who set zones, schedule their cuts, and forget about it are the happiest.
The best robot mower is the one you don't have to think about. The installation method is the difference between that and a $1,000 sculpture that sits in your garage because it can't find its way back to the charger.
Measure your lawn. Check your satellite coverage. Ask yourself how much time you're willing to spend on install day. Then buy the mower that matches your reality, not the one that matches the marketing photos.