Most people buy a robot mower, unbox it, and then discover the real project started the moment the cardboard hit the garage floor. The mower is the easy part. The install is the product.
That is doubly true when you skip perimeter wire. A wire-free robot lawn mower like the Segway Navimow i110N replaces the buried loop with RTK satellite positioning plus a camera, which means your yard layout, your tree canopy, and your house orientation all become part of the machine's job. Get those wrong and you get a robot that wanders, stalls, or refuses to leave the dock.
I have installed more than 30 robot mowers for clients around Minneapolis, on lots ranging from a flat quarter acre to a slope that made me rethink my career. Here is the full process for a wire-free setup, including the parts the marketing never mentions.
Why you should trust me
I spent 15 years installing lawns before I switched to reviewing robot mowers, and I have run six different units through two full Minnesota seasons, including winter storage, spring mud, and the great mulberry-leaf clog of 2024. I keep a string-and-stakes map of every install I have ever done, mostly because clients move and I need to remember what I buried where.
I do not test on dry artificial turf in a warehouse. I test on wet grass, in shade, in October, with a dog that chases anything that moves.
How I approach a wire-free install
The first thing to understand is that "wire-free" does not mean "install-free." It means the boundary lives in software instead of copper. You still walk the yard. You still plan zones. You still decide where the dock goes.
The second thing: RTK needs a clear view of the sky. It works by comparing satellite signals against a fixed reference point, and it needs a certain number of satellites to hold a fix. Under a dense maple canopy, the fix drifts. When the fix drifts, your virtual boundary drifts with it. That is the single biggest failure mode I see, and no spec sheet warns you about it.
The third thing: the camera. RTK plus vision is a hybrid approach, and the vision half is what saves you in the shade. The camera reads the lawn edge and helps the mower hold its line when the satellites get shaky. That combination is why I am willing to recommend wire-free at all now, when I would not have three years ago.
Mapping the yard before you touch the mower
Before anything gets unboxed, walk the perimeter with a tape or a phone and note four things: the total area, the steepest sustained slope, every tree with a canopy wider than about 10 feet, and every place the lawn pinches narrower than the mower's turning circle.
Write it down. This is the document you will reference every time something goes wrong.
Choosing the dock location
The dock needs three things: a clear sky view, level ground, and power. That last one is what usually forces a compromise. If the only outdoor outlet is on the shaded north side of the house, you have a problem, and the answer is usually an extension of the irrigation-grade outdoor circuit, not a longer low-voltage run from the mower's brick.
Put the dock where the mower can leave it in a straight line for at least six feet. Mowers that have to execute a turn immediately on leaving the dock rack up navigation errors all season.
Setting the virtual boundary
Most apps let you drive the mower or walk a boundary marker around the lawn. Drive the boundary deliberately, at walking pace, and set it a few inches inside the actual grass edge. If you set it to the true edge, the mower will spend the season bumping into flower beds and fence posts.
Leave a deliberate gap at any gate you want the mower to pass through, and set that gap wider than you think you need.
The mower I would start with
This is the unit I have the most current hours on, and it is the one I recommend to a homeowner with a quarter acre and some shade.
Our pick: Segway Navimow i110N Robot Lawn Mower Perimeter Wire Free 1/4 Acre
 Visit on Amazon →
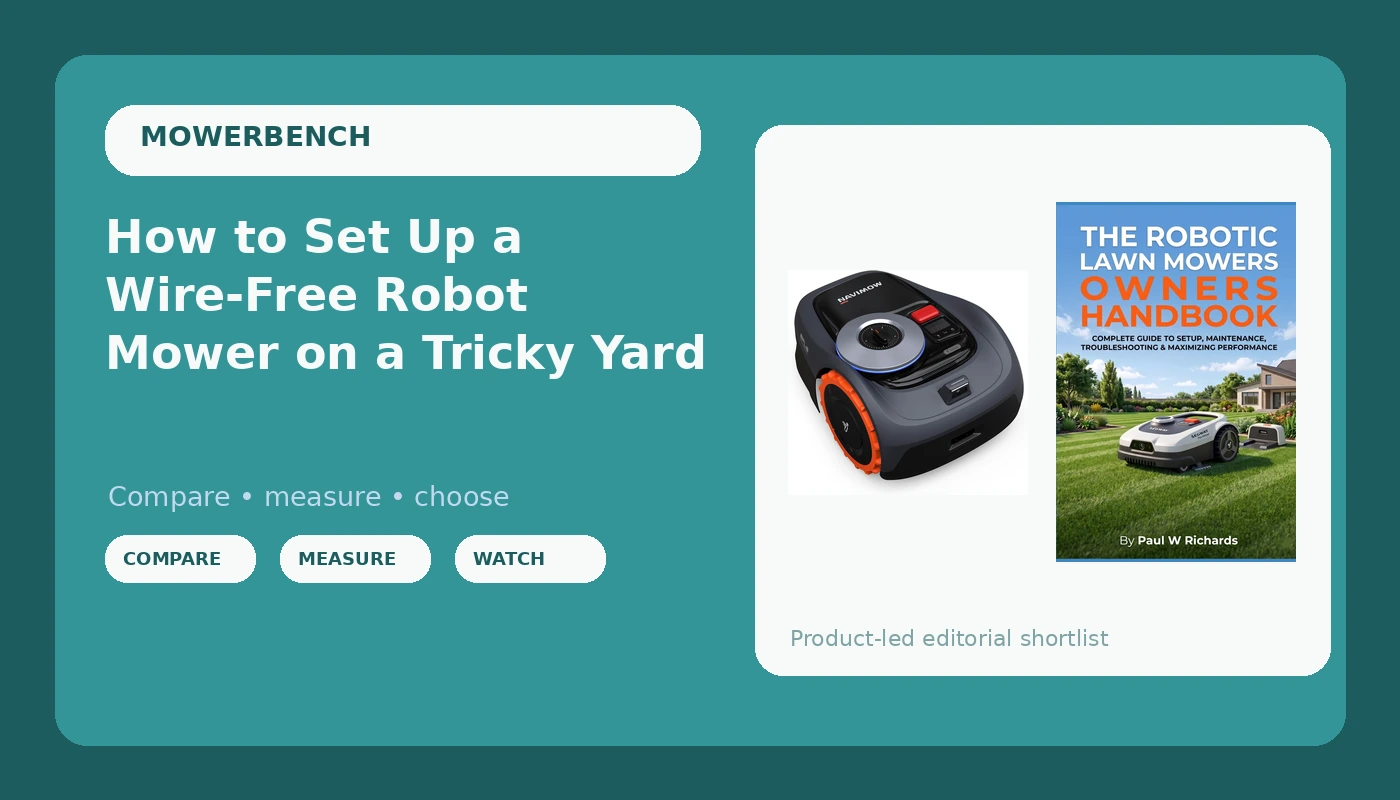
The Navimow i110N is rated for a quarter acre, uses RTK plus vision instead of perimeter wire, and runs at a claimed 58 dB, which is quiet enough that I have had clients run it at 6 a.m. without a neighbor complaint. AI-assisted mapping and virtual boundaries mean you define zones in the app rather than with stakes and copper. Multi-zone management matters more than people expect: a front yard, a back yard, and a side strip are three different mowing problems, and treating them as one big rectangle is how you end up with a scalped strip along the driveway.
What I like about it is the combination. RTK alone is elegant and fragile. RTK plus a camera is a system that can recover when the sky view goes bad, and that is the difference between a mower that finishes the job and a mower that parks itself at 2 p.m. with half the lawn cut.
Flaws but not dealbreakers: RTK is still RTK. If your lawn sits under a mature maple canopy for most of the day, no wire-free mower is going to be perfect, and you should plan on the shaded zone being the one you occasionally touch up with a trimmer. Also, virtual boundaries are only as good as the map you drive, so budget an hour for mapping, not ten minutes.
Homeowners with a quarter acre or less, decent sky view, and a yard that is more lawn than woodland will get the most out of this.
The book that shortens the learning curve
There is one resource I hand to every client who buys a robot mower, and it is not a spec sheet.
Reference pick: The Robotic Lawn Mower Owners Handbook
 Visit on Amazon →
The Robotic Lawn Mower Owners Handbook is the real-world guide for managing complex yards, maximizing efficiency, and eliminating edging with robotic mowing. It is part of the Evolution of Lawn Care series, and it covers the things that actually break a robot mower install: zone planning, cutting height strategy, edge behavior, and how to think about a yard that is not a simple rectangle.
I recommend it specifically for complex yards, because that is where the manual and the app both run out of answers. If your property has a narrow side strip, a garden island, a slope, and a dog, the generic setup guide will not cover your situation. This does. It is also the cheapest thing in this entire article by a wide margin.
Flaws but not dealbreakers: It is a book, not a service. It will not tell you where your particular outdoor outlet is or how your specific tree canopy blocks your specific sky view. You still have to do the site walk.
Anyone whose yard has more than two distinct zones, or who has already had one failed install, should read this before the second attempt.
The actual setup workflow
Now the steps. This works for a wire-free mower with RTK and vision. If you have a perimeter-wire mower, the mapping steps are different but the dock and zone logic still applies.
Step one: Charge and update before you map. Unbox, dock the mower, let it charge fully, and install every firmware update the app offers. I have watched people map a lawn, then update the firmware, then lose the map. Update first. This is the single most common self-inflicted wound I see.
Step two: Set the dock and let the mower calibrate. Leave the mower on the dock for a full charge cycle so it can settle its position. Some units need a clear calibration period before they will accept a map. Do not rush this.
Step three: Drive the boundary. Walk or drive the perimeter at a steady pace. Keep the boundary a few inches inside the true grass edge. Make your gate gaps generous.
Step four: Define your zones. Split the yard into mowing zones that match how the grass actually grows, not how the property lines run. A shady zone and a sunny zone should be separate zones, because they will need different schedules.
Step five: Set cutting height high to start. Start at the high end of the range. If you have been mowing at two inches with a gas mower, do not set the robot to two inches on day one. The robot mulches, and mulching works best when it is removing a small amount of blade each pass. Drop the height gradually over two or three weeks.
Step six: Schedule daily, not weekly. Mowing frequency beats mower quality every time. A cheap robot running daily produces a better lawn than an expensive robot running weekly. Daily passes mean short clippings, which means they disappear into the turf instead of clumping.
Step seven: Watch the first three runs. Do not set it and leave. Watch the first three full cycles. Note where it slows down, where it turns, and where it stops. Those spots are your problem areas, and fixing them now is cheaper than fixing them in July.
Step eight: Adjust the boundary where it struggles. If the mower is nosing into the same bed every run, move the virtual boundary in a few inches there. The map is editable. Use that.
Where wire-free goes wrong
The honest caveats, because I would rather you know them now.
Dense tree canopy kills RTK fixes. Not degrades. Kills. If your lawn is a forest clearing, wire is still the boring, reliable answer, and I install wire for clients in exactly that situation.
Heavy rain and wet grass reduce traction. A slope that a mower handles fine in August becomes a slip in April. If your slope rating says 25%, treat 18% as your real working limit on wet grass, because I have watched a "25% slope" mower slide sideways at 18%.
Blades are the hidden cost. Cheap blades dull in about a month, and a dull robot mower tears grass instead of cutting it, which leaves a frayed tip that browns. Budget for blades.
The app is a feature, not the mower. If the scheduling fails or the map gets lost after a firmware update, you have a very slow Roomba. Keep the firmware current and keep a manual mowing option in the garage.
What this all costs
The mower is the big line item, and it is the one thing you should not buy below the $1,000 mark. Under that, you are buying a toy that needs constant rescue. Above it, in the $1,000 to $2,000 range, there are real winners now.
The handbook is the cheapest thing on the list and the one that saves the most install hours. The blades are a recurring cost you should plan for from the start.
- Mower: check current Amazon price, and expect blades as a yearly line item.
- Handbook: a one-time purchase that pays for itself the first time you avoid a bad zone map.
- Outdoor outlet work, if you need it: the cost nobody budgets for, and the one that most often delays install day.
The math is simple. A robot mower running daily takes the weekly mow off your calendar, and it does it better than a weekly pass ever will. The install is the work. The mowing is free.
Do the site walk. Drive the boundary carefully. Update the firmware first.
That is the job. Your lawn was built to be mowed daily. Let the robot do it.