The wire-free robot mower is the easiest lawn install you will ever do, and the easiest one to botch. There is no loop of perimeter wire to lay, no 200 staples to pound into wet turf, no splice that corrodes by August. You level a dock, plug it in, walk the robot around the edge of the lawn once, and it cuts on a schedule from then on.
The catch is that almost everything deciding whether a wire-free setup works happens before the robot ever turns a blade. Dock placement, sky view, power, cutting height, and dog traffic. Get those right on a quarter-acre lot and the lawn mostly mows itself. Get them wrong and you will spend the summer carrying a robot back to its station in the rain.
I have installed wire and wire-free systems side by side for clients around Minneapolis. This is the order I do it in, and the hardware I would have on hand before the first run.
Why you should trust me
I'm Ingrid. I spent 15 years installing lawns before I switched to reviewing robot mowers, after putting 30+ of them into client yards for people who hated mowing. I live on a 0.4-acre lot with a slope that turns greasy every spring, a garden that needs a clean edge, and a dog who treats anything moving at ankle height as a chase toy.
My whole worldview fits in one sentence: a robot mower is a lawn system, not an appliance. The install is the product. The mower is just the robot that executes it. If the dock sits in the wrong place, the best machine on the market parks itself in the flowerbed and quits.
I have run six different robot mowers through two full Minnesota seasons, including winter storage, spring installs, and the mulberry leaf clog of 2024. I keep a string and stakes map of every install, because the fastest way to fix a bad season is to know exactly where the dock and the edges were last year.
How I picked and how I tested
Two questions drive every recommendation I make: does it survive a real season, and does the install fit into a normal homeowner's Saturday? I judge a wire-free machine on how tolerant it is about its dock, how much open sky it needs, what it does the week the grass grows four inches overnight, how easy the blades and the underside are to reach, and how it behaves in spring mud.
I also watch the failure points that show up in client inboxes in year two and year three, which are almost never the mower's cutting motor. They are charging contacts, power supplies, and apps that lose the map after a firmware update.
I have not run the WORX unit through a Minnesota winter yet, so I am telling you what I could verify from the listing and what I would watch through a first season. The charging adapter below is a different category of part: it is what puts a dead Mammotion LUBA base back in service, and I treat spare power hardware as part of the system, not an afterthought.
What you need before the first run
You can map a lawn perfectly and still lose a season to a dock that sits in shade under a maple or a power supply that dies in July. Sort the hardware first, then run the setup.
The short list is the mower itself plus the power side of the station. On a quarter acre, that means one machine rated for the area and one plan for what happens when the charging base stops waking up.
Our pick: WORX Robot Lawn Mower for 1/4 Acre, Wire-Free with Brushes
 Visit on Amazon →
This is the machine I would start with for a standard suburban quarter acre, because the rating matches the job and the wire-free design means your Saturday is a dock leveling and a mapping walk instead of a trench and a spool. On a lot that size, a robot that cuts daily and mulches fine clippings is doing the job of a weekly walk-behind mow, minus the two hours.
Where I would pay attention in the first season: how it handles the transition from the dock to turf in a wet spring, whether it finds the station reliably at dusk, and how often the underside needs clearing when the maple drops. Those are the three things that turn a wire-free mower from a convenience into a chore.
Flaws but not dealbreakers: Wire-free means positioning does the boundary work, and positioning does not love dense canopy. If your quarter acre is ringed by mature trees, read the next two sections before you buy, not after.
Homeowners with an open, mostly sunny quarter acre who want the mower running this weekend are the right buyer here.
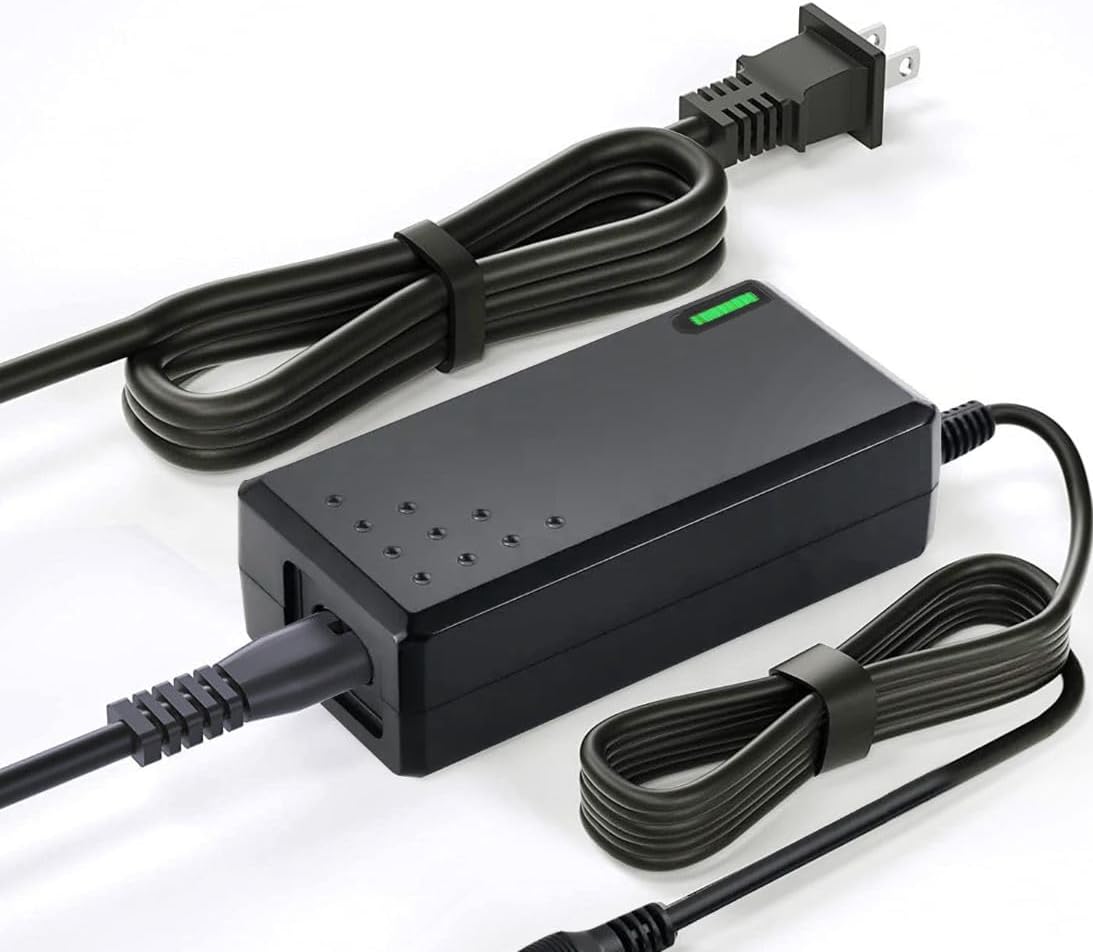
The part that gets you running again: 3-Pin Charger for Mammotion LUBA 1 2 3 AWD 3000 5000 10000 X HX Robot Lawn Mower Charging Base Power Supply Adapter Replacement VSK7LVTL ADS-81EJ-27-5, TS-A081-2703002 Cord
 Visit on Amazon →
This is the replacement 3-pin charger and power supply for a Mammotion LUBA charging base, and it belongs in this guide for a reason that has nothing to do with cutting grass. When the power supply on a docking station fails, the mower is not broken. The station is. Your robot sits on the dock, the light stays dark, and the entire system is dead until a new adapter arrives.
Before you order, match the model numbers in the listing to the base you actually own, because LUBA generations and the AWD and 3000 through 10000 and X and HX variants do not all use the same plug and output. That five-minute check is the difference between a same-week fix and a return.
Flaws but not dealbreakers: It is a power brick, not an upgrade. If your base is working, you do not need one. Keep it on the shelf only if you are running a LUBA and you do not want to lose two weeks of mowing in July to a part that costs less than a service call.
Anyone running a Mammotion LUBA base who has watched a charging light fail mid-season should have one of these within arm's reach.
The install, step by step
This is the order I use on client lawns. It works on any wire-free mower, and it takes an afternoon, not a weekend.
Step one: Map the lawn with string and stakes. Walk the boundary and mark what the robot cuts, what it does not, and where the tight spots are. Garden beds, a narrow gate, the mailbox island, the slope down to the street. If you cannot draw it with string, the mower will not figure it out either.
Step two: Choose the dock site. Level, firm ground, clear sky above, close to an outdoor GFCI outlet, and facing the open part of the lawn. Not behind the garage, not under the deck, not in the far corner behind the shed. The dock is the one piece of this system that never moves, so spend the time here.
Step three: Power it properly. Use a GFCI outlet with a weatherproof in-use cover, keep the cord out of the trim line, and do not daisy-chain extension cords across a wet lawn. This is where the spare charger earns its shelf space. Power is the least glamorous part of the install and the most common reason a robot stops working in July.
Step four: Set the cutting height high first. In a Minnesota spring, start at three to three and a half inches and come down gradually through May. Scalping wet turf in April is how you get weeds and a stressed lawn that no robot can fix.
Step five: Run the boundary pass in good light. Wire-free mowers build their map from positioning and onboard sensors. Walk behind it for the first lap, watch for corners it rounds too tight, and correct the map then, while you still remember what the lawn looks like. Keep hoses, toys, and the dog inside during this run.
Step six: Schedule daily, not weekly. Frequency beats mower quality every time. A modest robot running every day produces a better lawn than an expensive one running on Saturdays, because short clippings disappear into the turf and the blades never fight tall grass.
Step seven: Do a dog and toy audit. Bones, rope toys, garden hoses, low branches, and edging that sits proud of the turf. My dog has personally redirected two installs. Assume yours will too.
Step eight: Plan winter before the first frost. Clean the underside, store the dock and power supply inside if you can, follow the manual for the battery, and leave your string and stakes map in place. Spring then becomes a re-check of step two instead of a fresh install.
Where wire-free installs actually fail
Three failures account for most of the calls I get.
Dense tree cover is the first. Positioning needs a view of the sky, and a maple canopy is a positioning problem no firmware update solves. If more than a third of your lawn sits under mature trees, wire is the boring answer that works.
The dock in shade or behind a structure is the second. A station tucked under a deck or behind a garage wall makes the return trip unreliable, and a mower that cannot find the dock in the dark is a mower that strands itself. Move the dock, not the schedule.
The third is slope. Slope ratings are marketing, and I have watched a mower rated for a steep grade slide sideways on wet grass at a much gentler angle. Test your worst slope in the rain before you trust it, not after.
Add charging contact corrosion to the list. Wipe the contacts when you clean the underside, and keep the dock on firm ground so the mower parks square every time.
The other path: perimeter wire
Wire is boring and it works. That is not a slogan, it is the reason I still install it for clients with heavy tree cover, complicated boundaries, or a zero tolerance for a mower that wanders. Trenching and stapling is a real afternoon of work, and a bad splice will corrode in one season, but the boundary never loses signal because a cloud moved.
The honest split is this: open, simple, sunny lawns go wire-free and are done in an afternoon. Shaded, intricate, or heavily planted lawns go wire, or a hybrid setup that uses both, and they go that way for a decade.
If you already own a Mammotion LUBA base, you are on the positioning side of that split, and the practical question is not which path is better. It is whether your charging base has clean power, which is exactly why a spare 3-pin charger is worth shelf space.
What this all costs
I am not going to quote prices here, because they move and the listing is the only place that matters. Check current Amazon price on the mower and on the adapter before you commit, and think about the install as a system budget instead of a single purchase.
The money goes to five places: the mower, the dock and its power supply, replacement blades, the outlet work if you do not have an outdoor GFCI where you need one, and your own afternoon. The mower is the biggest line. The blades are the sneaky one, because cheap blades dull in a month and a dull robot tears grass instead of cutting it, which means you buy them again and again. The power supply is the smallest line and the one that takes the whole system offline when it goes.
Against a lawn service, the math gets boring fast in your favor. Against a walk-behind you already own, the math is about the hour back every week and the fact that daily cutting beats a weekend scalp.
The short version
Level the dock, put it where it can see the sky and reach a GFCI outlet, set the height high for spring, run the mapping lap in daylight, then schedule daily and leave it alone. Keep a spare power supply for your base if you run a LUBA, and keep your install map somewhere you will find it in April.
That is the job. Your lawn is a system, the robot is only the last part of it, and the install is the part you actually get to control.