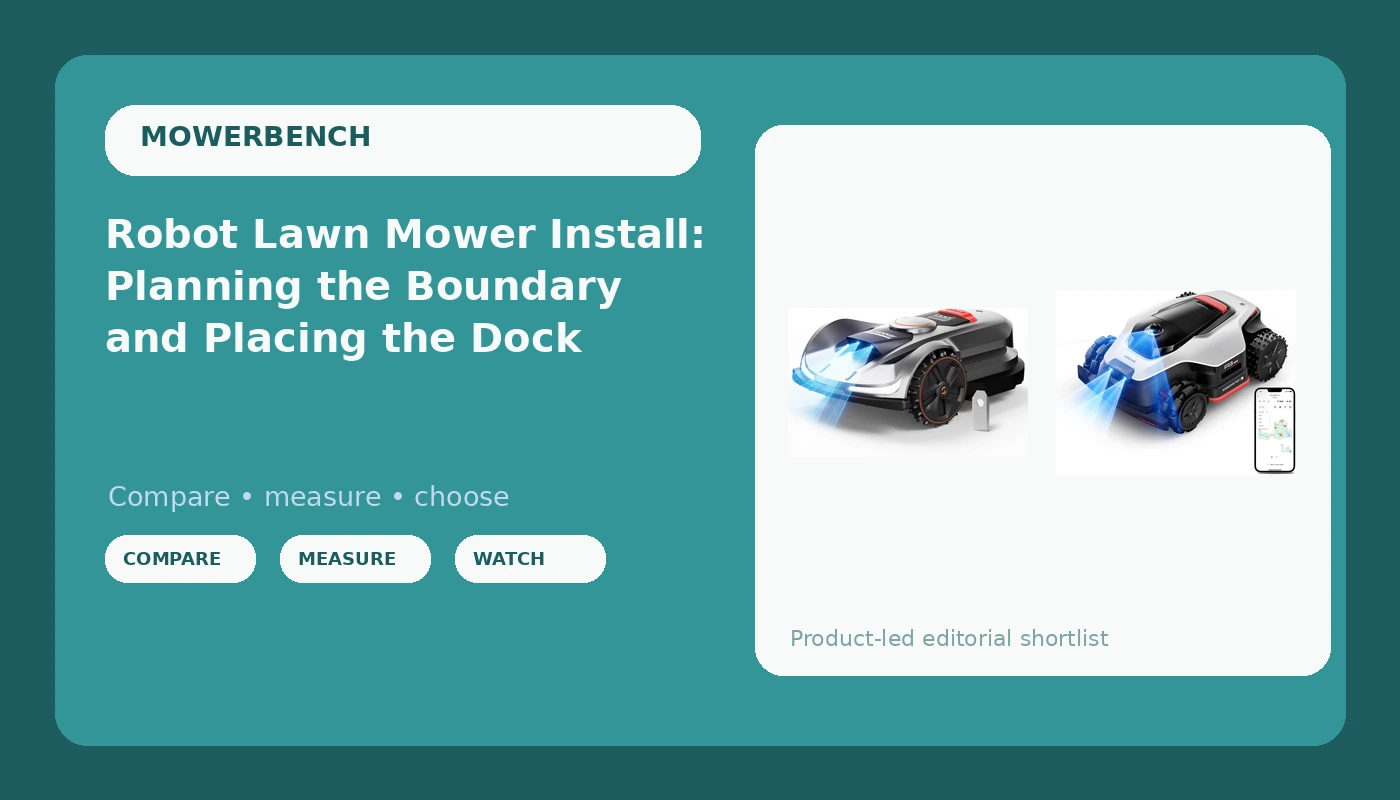
Robot lawn mower setup is an install project, and the install is the product. I have put more than thirty of these machines into client yards around the Twin Cities, and the ones that fail almost never fail because the robot was cheap. They fail because the boundary was sloppy, the dock sat in the shade, or the schedule was set to twice a week on a lawn that wanted it daily.
That is the part the listings never tell you. A robot mower is not an appliance you plug in and forget. It is a system: a boundary, a dock, a power run, a schedule, and a machine that executes all of it. Get the first four right and even a mid-priced mower looks brilliant. Get them wrong and a flagship unit will spend the summer beached on a garden bed.
This is the setup sequence I use on client properties, in the order I actually do it. It works for wire-bound mowers and for the newer wire-free machines, and it takes an afternoon if you have done your measuring beforehand.
Why you should trust me
I spent fifteen years installing lawns before I started reviewing robot mowers, and I have installed more than thirty of them for clients who hated mowing. I live on a 0.4-acre lot with a tricky slope, a garden, and a dog that chases anything that moves. I have run six different robot mowers through two full Minnesota seasons, including winter storage, spring installs, and the great mulberry-leaf clog of 2024.
I keep a string-and-stakes map of every install, because the second time you need to find a boundary wire you will not remember where you buried it. That map is the single most useful thing I own.
How I picked and how I tested
The two mowers below are the ones I would spec for a suburban yard right now, and I want to be honest about how I judged them. I have not run either of these exact units through a full season on my own bench. What I did was read the published specs against the install geometry I deal with every week: how the machine decides where the edge is, whether it needs a buried wire, how it handles a wet slope, where the dock has to sit, and how much downtime the charge cycle adds to a day of mowing.
That is the checklist that matters. Navigation method decides whether your tree cover is a problem. Coverage rating decides whether the machine finishes the yard before the battery quits. Charge time decides whether a big lawn needs one mower or two. And every one of those is a setup question, not a spec-sheet bragging point.
A note on the numbers you see in listings: coverage ratings are measured on flat, open ground with ideal grass. Slope ratings are measured on dry turf. Treat both as the ceiling, not the average, and plan your yard against the lower number.
The two mowers I would plan a yard around
These are the two I would shortlist for a suburban property, and they solve the boundary problem in two different ways. Which one is right for you depends almost entirely on what is above your lawn.
The LiDAR pick: (Upgraded) DREAME A3 AWD 1000 LiDAR Robot Lawn Mower, 45-Min Fast Charge
 Visit on Amazon →
LiDAR navigation is the reason this one is on the list. Instead of leaning on a satellite fix, the mower reads the shape of the yard itself and builds its own map, which means heavy tree cover is far less of a problem than it is for a satellite-only machine. If your property has maples, oaks, or a garage that eats the sky view, this is the navigation approach I would choose.
The AWD drivetrain matters more than people expect. All-wheel drive is not about climbing a hill fast, it is about not sliding sideways when a rear-drive mower loses grip on wet grass with a full clipping load. Every fall I watch rear-drive units get rescued off the same slope.
The 45-minute fast charge is the quiet feature that changes how the mower fits your day. A mower that tops up quickly spends more of the afternoon cutting and less of it parked, which is what you want if your lawn is on the larger side of the machine's rating. The "Upgraded" label on this listing means there is a revised version in circulation, so read the current product page to confirm exactly which configuration ships.
Flaws but not dealbreakers: LiDAR mowers still need a clean map, and a map built around a lawn full of dog toys and garden hoses will be a map full of phantom obstacles. Clear the yard before the first mapping run or you will be redoing it.
This is the one I would point at a yard with mature trees, a mix of sun and shade, and a slope that gets slick in October.
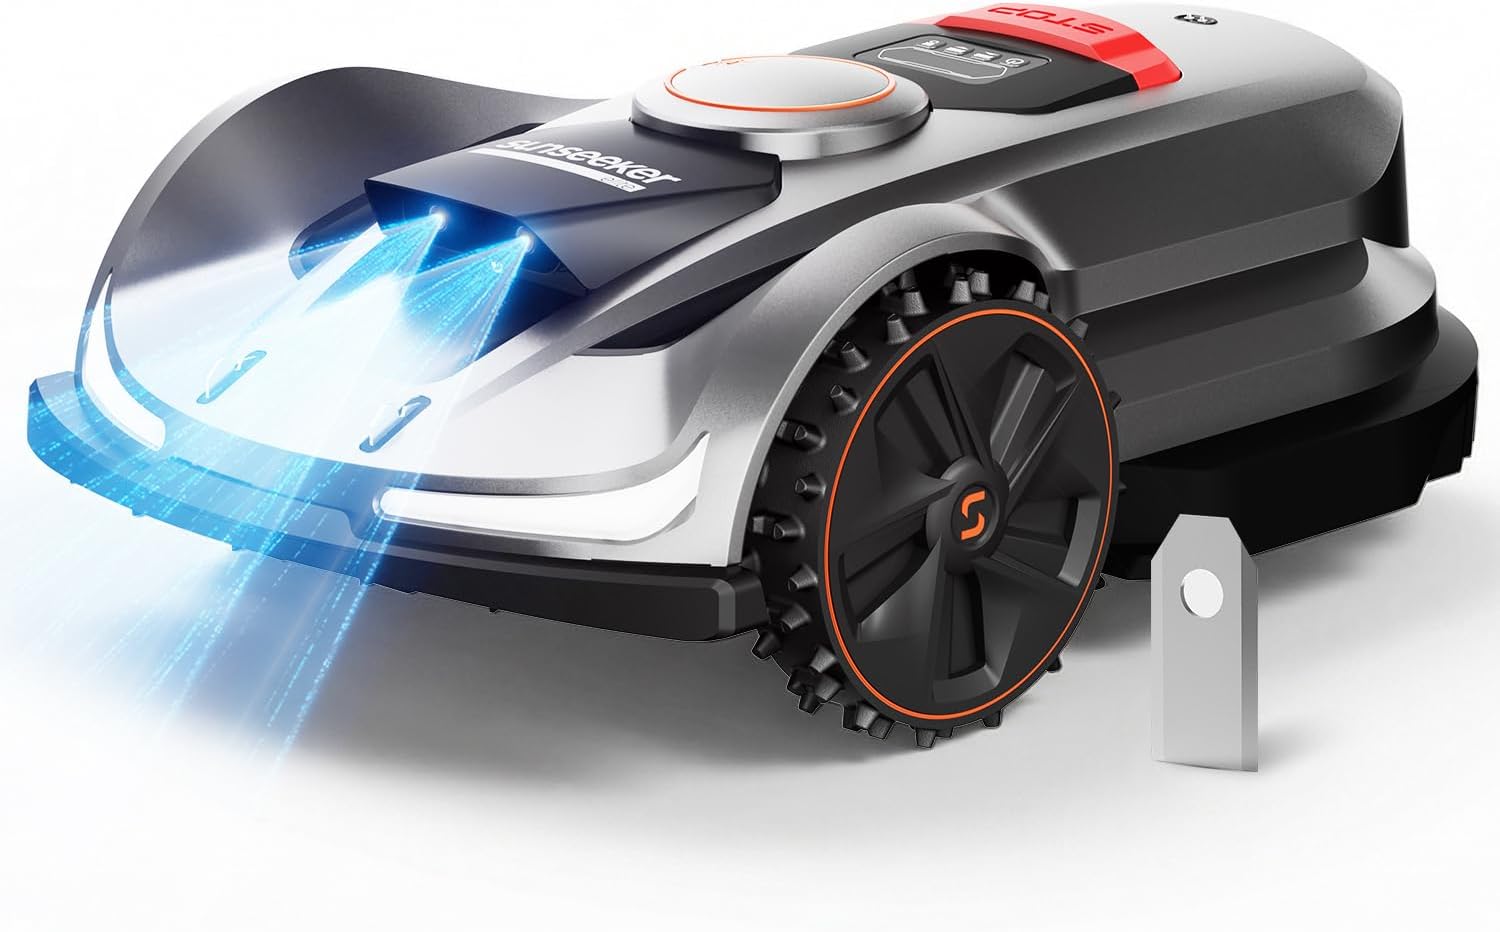
The wire-free pick: Sunseeker X7 AWD Robot Lawn Mower, RTK, Vision AI, 0.75 Acre, Wire-Free
 Visit on Amazon →
This is the machine for the homeowner who does not want to bury a boundary wire. RTK positioning puts the mower on a known point in the yard by comparing satellite corrections, and the vision system is there to catch what the satellites miss, like the edge of a flower bed or a dog that has decided to nap in the middle of the cutting path. The listing rates it for up to 0.75 acre, which is a real suburban lot, not a courtyard.
The AWD drivetrain is the same argument as above, and on a wire-free mower it matters even more. There is no wire to correct a mower that drifts, so the machine has to hold its own line on a slope.
Here is my honest caveat, and it is the one I give every client who asks about RTK. RTK needs a clear view of the sky. Under a dense maple canopy, or along a north-facing wall of the house, the fix degrades and the mower can wander or stop. I install wire for clients who want reliability above all else, and I recommend RTK for clients whose lawn is genuinely open. Walk your property at midday and look up. If you cannot see a wide patch of sky over most of the lawn, this is not the right boundary method for you.
Flaws but not dealbreakers: Wire-free does not mean maintenance-free. The reference signal depends on the dock location and the antenna placement, so the dock has to go where the sky is open, even if that is not the most convenient corner of the yard.
This is the pick for an open, mostly sunny lot where the thought of trenching a wire is what has kept you from buying a robot mower at all.
The install workflow, step by step
Now the part you came for. None of this requires special tools. It requires an afternoon, a tape measure, and the willingness to walk your yard before you plug anything in.
Step one: Draw the yard on paper. Not a sketch, a measured map. Pace off the lawn, note the obstacles, mark the slope, and mark where the grass is thin. I use string and stakes on client properties because a string line shows you the real boundary in three dimensions. You are looking for narrow passages, hard corners, and any place a robot could get wedged. If the passage between the house and the fence is narrower than the mower's turning circle, that zone is not lawn, it is a trap.
Step two: Choose the boundary method. This is the decision that everything else hangs on. A buried perimeter wire is boring and it works, in the dark, under snow load, after a firmware update. RTK or LiDAR navigation is elegant and skips the trenching, but RTK needs sky and LiDAR needs a clean map. Pick based on your tree cover, not on the marketing.
Step three: Place the dock like it matters. It does. The dock needs level ground, power within reach of an outdoor outlet, and a straight approach run of several feet so the mower can line up. Do not put it at the bottom of a slope where water pools, and do not tuck it under a deck. If the mower cannot find the dock in the dark, it will die in the middle of the lawn at 11 p.m. and you will find it in the morning.
Step four: Set the cutting height high, then lower it. Start at the top of the range for the first two weeks. Scalping a lawn with a robot is the fastest way to stress the grass and the fastest way to convince yourself the machine is bad. Once the lawn is on a daily schedule, drop one notch at a time until you reach your target height.
Step five: Schedule daily, not weekly. Mowing frequency beats mower quality every single time. A cheap robot running daily beats an expensive one running weekly, because daily cutting takes a tiny slice off the top and mulches it back in. A weekly robot has to chew through too much growth, which is where clumping, missed strips, and torn grass blades come from.
Step six: Watch the first three days like a hawk. Count the rescues. Watch where it misses. Watch whether it returns to the dock on its own. Every problem you find in the first 72 hours is a setup problem you can fix with a boundary adjustment or a schedule change. Every problem you find in week three is a habit you have to unlearn.
Step seven: Check the blades weekly during the growing season. Dull blades tear grass instead of cutting it, and torn tips brown out and invite disease. Blade life is the hidden cost of ownership, and a blade that needs a special tool to swap is a blade that never gets swapped. Look for visible nicks and a ragged cut on the lawn, and replace on schedule rather than waiting for the grass to tell you.
Step eight: Plan winter storage in October, not December. Clean the deck, charge the battery to the level the manual specifies, and store the unit somewhere that does not freeze. Do not leave it sitting on the dock through a Minnesota winter. I have watched a client do that and spend March on the phone.
The failure points nobody warns you about
Slope is the one that catches people. A rating printed on a box was measured on dry turf, and wet grass in October is a different surface entirely. I have watched a mower with a generous slope rating slide sideways at what looked like a mild angle because the grass was slick. Test your slope yourself, on a wet morning, before you trust a number.
Dog interference is real and it is constant. Toys, bones, and the dog itself all become obstacles, and a mower that maps your yard will happily map the toys too. Clear the lawn before the run.
App quality is the other soft spot. The app is a feature, not the mower. If scheduling fails after a firmware update, you own a very slow Roomba. Check the update history and the review pattern for the app, not just for the hardware.
The competition and why it lost
The wire-bound mowers from the established European brands are not in this guide because they are a different buying decision, not because they are bad. If your yard is shaded and complicated, a perimeter wire is still the most reliable answer I can give you, and I install them for clients every spring. They just do not solve the problem these two mowers solve, which is getting a robot onto a lawn without a trench.
RTK-only mowers without a vision system are the other category I left out. They are the units that look elegant on paper and then stop dead under a maple. Until the navigation is hybrid, an RTK-only machine is a bet on your tree canopy.
Zero-turn mowers and ride-on machines are not comparisons here either. Different machine, different buyer, different afternoon.
What this all costs
The install is the real budget line, and it is measured in hours, not dollars. A wire install is a weekend for a homeowner and a day for someone who has done it before. A wire-free setup is an afternoon of mapping and dock placement. Neither one is hard. Both are the reason people put the box in the garage and never open it.
The ongoing cost is blades and your attention. Blades are consumable, they are cheap individually, and they are the difference between a lawn that looks mowed and a lawn that looks chewed. Add a spring check of the dock, the boundary, and the firmware, and you have the full maintenance picture.
The payoff is the hour you get back every week, and the fact that the lawn looks better on a daily cut than it ever did on a Saturday afternoon pass. That is the whole trade. Do the install properly once, and the machine does the rest.